![]()
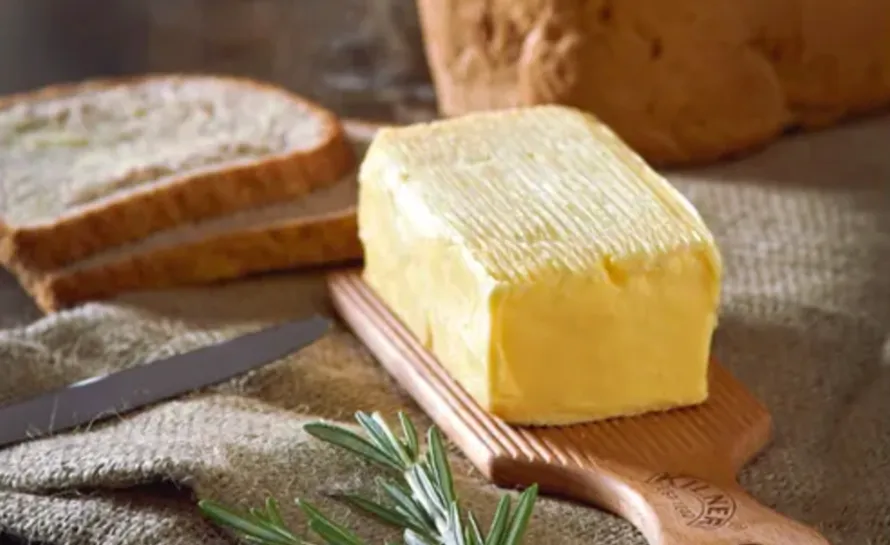
How to Make Homemade Butter: The French Way, Cultured, Rich, and Super Tasteful
Making homemade butter is stupidly easy. You shake cream until it turns into butter. That’s it.
But the French, being French, have turned this simple process into something a bit more sophisticated. They culture their cream first, give it time to develop flavour, and treat butter-making with the same reverence they give wine-making. Which sounds ridiculous until you taste proper Normandy butter next to the pale, flavourless stuff from the supermarket.
Here’s how to make homemade butter the French way, cultured, rich, and super tasteful.
Why Bother Making Butter at Home?
Right, let’s be honest. You can buy decent butter at the supermarket. So why spend time in the kitchen when you could be doing literally anything else?
I’ll tell you why, because homemade butter tastes completely different. It’s richer, creamier, and you can taste the actual cream rather than just salt and fat. The slight graininess, the way it melts on warm bread, the colour, it’s all different.
If you’ve ever wondered why French butter costs three times as much and whether it’s worth it, making it yourself answers that question immediately. The extra fat content, the culturing process, the careful temperature control, it all makes sense once you’ve done it by hand.
The fun part if you make homemade butter is, you get buttermilk as a bonus. Proper buttermilk, not the cultured milk product in shops, but actual leftover liquid from churning. It’s brilliant for pancakes, soda bread, and about fifteen other things that suddenly taste better when you use real buttermilk.
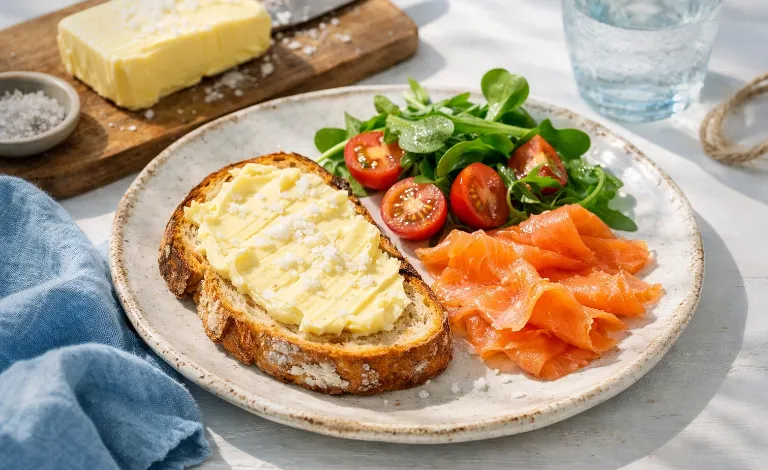
Plus, serving homemade butter at dinner is properly impressive. People remember it. Especially if you’ve shaped it nicely and sprinkled it with fleur de sel like you know what you’re doing.
The Cream: What to Buy and Why It Matters
This is where most homemade butter goes wrong. Cheap cream makes mediocre butter, no matter how perfectly you churn it.
Fat Content Is Everything
You want heavy cream (also called double cream or whipping cream depending on where you are) with at least 35% fat content. Preferably 40% or higher. The fat content directly determines how much butter you’ll get and how it’ll taste.
Light cream or half-and-half won’t work. It’ll just turn into thick cream and stubbornly refuse to split. Standard whipping cream (35% fat) works but gives you less butter per litre.
Cream from Jersey or Guernsey cows makes phenomenal butter if you can find it. These heritage dairy breeds produce thick, golden cream with higher butterfat content, sometimes 45-48%. The butter tastes sweet, grassy, and noticeably richer than butter from standard dairy breeds. It costs more, but the flavour’s completely different.
The cream should be pasteurised but not UHT. Ultra-high temperature processing damages the fat structure and you end up with butter that doesn’t culture properly and tastes flat.
Where to Find Good Cream
Most supermarkets stock reasonable heavy cream. Look for cream with the highest fat content you can find, check the label. Anything above 36% is excellent for butter-making.
Farm shops, farmers’ markets, and specialty food stores often sell cream from specific dairy farms. This is worth seeking out if you’re serious about making good butter. Ask about the fat content and whether the cows are grass-fed.
Some regions have local dairies that sell unpasteurised cream, which makes incredible butter but comes with the usual raw dairy warnings. Check local regulations, it’s legal in some places and not others.
Look for cream from grass-fed cows if possible. The butter will be more yellow and have better flavour, particularly in spring and summer when the cows are on fresh pasture.
✱ How Much You Need
One 600ml (about 20 fl oz) of heavy cream yields roughly 250-300g (9-11 oz) of butter, depending on fat content. Plus about 200-250ml (about 1 cup) of buttermilk.
That might not sound like loads, a 250g block goes quickly, but it’s enough to understand whether you enjoy making butter before committing to massive batches.
If you’re using a stand mixer, you can easily do 1.2 litres (two pints) at once. Just don’t fill the bowl more than halfway or it’ll splash everywhere when the butter splits.
Fresh vs Everything Else
Use the freshest cream you can find. Check the dates. Cream near its use-by date still makes butter, but it won’t keep as long and might taste slightly off.
Organic cream makes slightly better butter, mostly because organic dairy cows eat more grass and less concentrate feed. You can taste it, particularly in spring when the cows first go out to pasture.
Avoid anything labelled “extra thick” or “spooning cream” that’s been homogenised excessively. The fat globules have been broken down too much and take ages to churn.
Equipment: What You Actually Need
Most traditional
Churn Method 1: Shaking in a jar

Le Parfait 1 liter Jars
uses 85mm seals
Find it on Amazon >
A large jar with a tight-fitting lid
A 1-litre (quart-size) preserving jar is perfect. You’re shaking cream for 10 minutes, so the lid needs to seal properly or you’ll redecorate your kitchen ceiling. Traditional preserving jars work brilliantly and you can use them for other purposes as well. Le Parfait jars are excellent French preserving jars with reliable seals, worth having if you make butter regularly.
Easiest for large batches
Churn Method 2: Stand mixer

KitchenAid Stand Mixer
Find it on Amazon >
A stand mixer
If you’re making more than 600ml of cream at once, your arm will thank you. A stand mixer with the paddle or whisk attachment churns butter in about 5-10 minutes on medium speed. Much easier than shaking a jar, and you can do other things whilst it churns. Just drape a tea towel over the mixer when the butter starts to split, it splashes everywhere otherwise.
Middle ground
Churn Method 3: Electric hand mixer
Kenwood Electric Mixer
Find it on Amazon >
An electric hand mixer.
If you don’t have a stand mixer, a hand mixer does exactly the same job, you just have to hold it. Use a deep bowl (critical as it splashes everywhere when the butter splits) and start on medium speed. It’ll churn butter in about 5-10 minutes, same as a stand mixer. Drape a tea towel over the bowl and your hand when it starts to separate, or you’ll have buttermilk all over your kitchen. Trust me on this.
Hand mixers work best for smaller batches (up to 600ml of cream). For larger quantities, the stand mixer or Kilner churner makes more sense because you’re not standing there holding the thing for 10 minutes.
Best for regular small batches
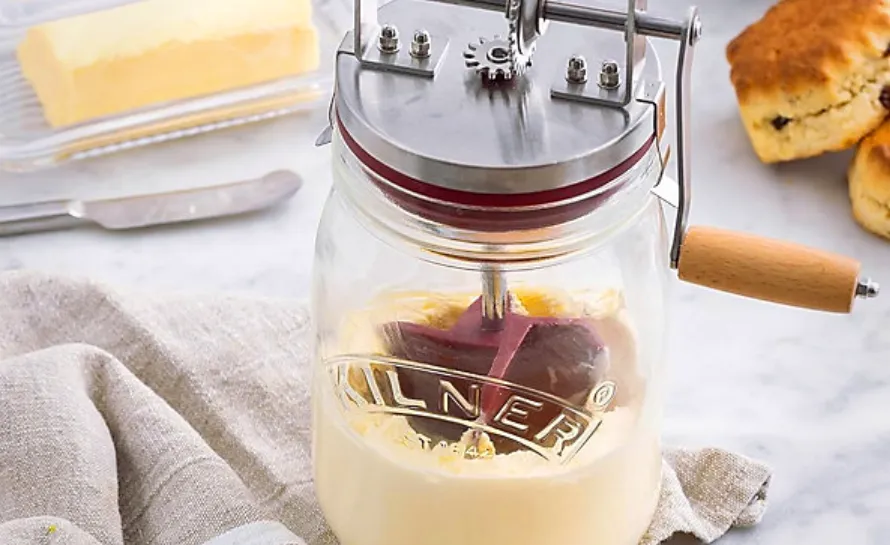
Churn Method 4: Butter Churner
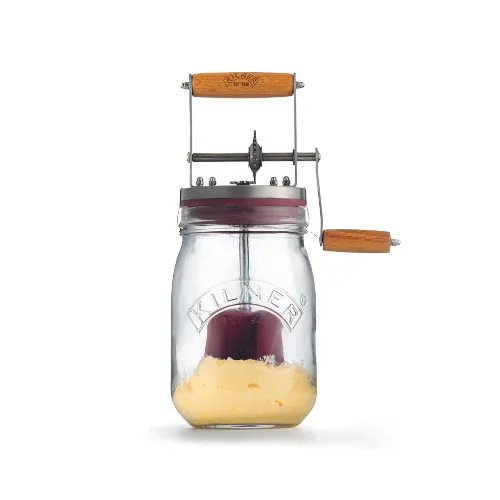
Kilner Butter Churner
Find it on Amazon >
A butter churner
This sits somewhere between shaking a jar and using a stand mixer, easier than the jar, cheaper than the mixer. It’s a 1-litre glass jar with a hand-crank mechanism on the lid. You pour in your cream, turn the handle, and the internal paddles do the churning for you. Takes about 10 minutes of cranking, which is much less tiring than shaking a jar for 20.
The Kilner Butter Churner is particularly good if you’re making butter regularly but don’t want to dedicate a stand mixer to it. The glass jar’s dishwasher safe, though the churning mechanism needs hand-washing.
The downside: it only handles about 300ml of cream at once (yields roughly 125g of butter), so if you’re making large batches, a stand mixer’s more efficient. But for occasional butter-making or smaller quantities, it’s ideal.
✱ For Washing the Butter
Le Creuset Ceramic Mixing Jug
Find it on Amazon >
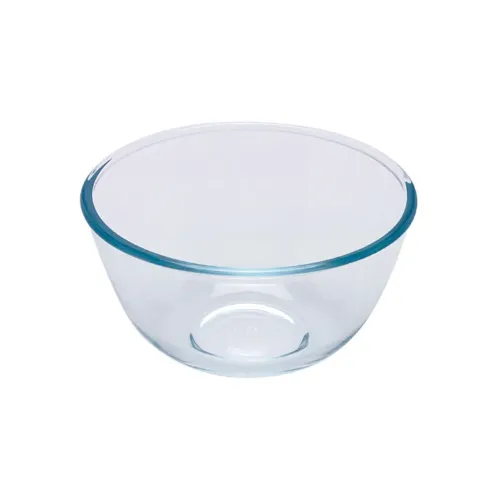
Pyrex Glass Mixing Bowl
Find it on Amazon >
A large bowl
For washing the butter. Glass or ceramic is better than metal because it doesn’t conduct heat as quickly. Le Creuset has a really nice ceramic one if you want to make your homemade butter in French style, and Pyrex has a glass one that is big and sturdy. Your choice.
✱ To Extract the Buttermilk
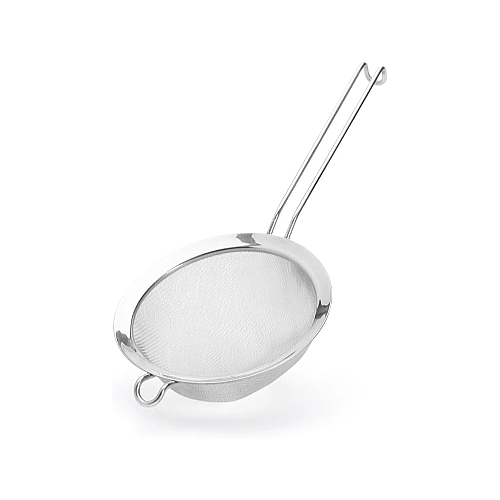
DeBuyer Sieve
Find it on Amazon >
A fine-mesh sieve
For straining off the buttermilk after churning. Doesn’t need to be fancy.
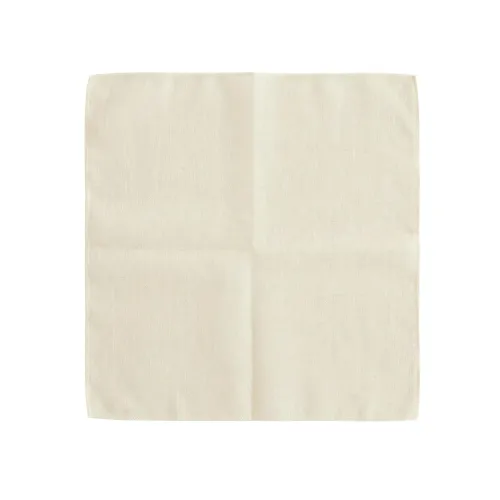
Butter Muslin Cloth
Find it on Amazon >
Muslin or cheesecloth
For wrapping and squeezing out the last bits of buttermilk. Not essential, but helpful if you want your butter to keep for weeks rather than days. Buy proper butter muslin, not the flimsy stuff sold for straining. You want tightly-woven fabric that won’t let butterfat through.
✱ Nice to Have Equipment

ThermoPro Kitchen Thermometer
Find it on Amazon >
A kitchen thermometer (optional but helpful)
If you’re serious about making butter regularly, an instant-read thermometer takes the guesswork out of getting cream to the right temperature. A digital instant-read thermometer tells you exactly when it’s ready, rather than relying on feel.
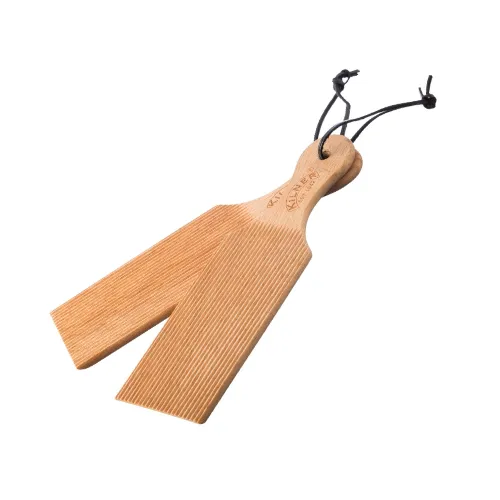
Kilner Butter Paddles
Find it on Amazon >
Butter paddles or Scotch hands
Traditional wooden paddles with ridges for working butter and pressing out buttermilk. The French use them, the Irish use them, they work. You can manage with a silicone spatula, but proper butter paddles make the job easier and you feel like you’re doing it properly. Traditional wooden butter paddles last forever and make the process more efficient.
Butter moulds and stamps
Purely decorative, but if you’re making butter for guests, wooden moulds with carved patterns or butter stamps look impressive. Traditional French designs include flowers, wheat sheaves, or cows.
The French Homemade Butter is Cultured Butter
This is how most French butter actually is made. The process takes 24-48 hours total, but the actual hands-on work is minimal, maybe 20 minutes. The rest is just waiting whilst bacteria do their thing.
Why Culture Cream?
Lactic acid bacteria convert lactose (milk sugar) into lactic acid, which lowers the pH and develops complex flavours. It’s the same principle as making yoghurt or crème fraîche, controlled fermentation creates depth that fresh cream doesn’t have.
Cultured butter tastes richer, more complex, with a subtle tang that lingers. It’s also more yellow because the acidity affects how carotenoids (the pigments in butterfat) express themselves.
And it keeps longer. The lower pH inhibits spoilage bacteria, which is why traditional French butter lasted weeks without refrigeration.
Want sweet cream butter instead?
Skip straight to Step 3, using cold cream at 15-18°C (60-65°F). You’ll have butter in 10-20 minutes with no waiting, but it won’t have the complex flavour of cultured butter.
✱ Step 1: Culture the Cream
- Mix 600ml heavy cream with 2 tablespoons of full-fat plain yoghurt in a clean bowl. The yoghurt must say “live cultures” or “active cultures” on the container, dead bacteria won’t ferment anything. French crème fraîche (the thick, spooning kind) works even better if you can find it. Alternatively, use a spoonful of buttermilk from a previous batch of cultured butter. This is how French farmhouses did it for centuries, always save a bit for the next batch.
- Stir it thoroughly so the cultures distribute evenly through the cream.
- Cover the bowl with a clean cloth, not cling film. You want air circulation. The bacteria need oxygen during the first stages of fermentation.
- Leave it at room temperature (21-24°C / 70-75°F is ideal) for 24-48 hours. Don’t put it somewhere cold or the fermentation will stall. Don’t put it somewhere hot or you’ll get weird off-flavours.
- After 24 hours, the cream will have thickened noticeably and smell slightly tangy, like very mild yoghurt or crème fraîche. That’s correct. The texture will be thick enough to hold soft peaks.
- After 48 hours, it’ll be very thick and taste distinctly sour. The longer you culture, the tangier the final butter. Most people prefer 24-36 hours.
- Don’t leave it longer than 48 hours or it’ll get too sour and might separate before you even start churning.
✱ Step 2: Chill Thoroughly
- Once the cream’s cultured to your liking, refrigerate it to stop the fermentation. The cold halts the bacterial activity, so you’re not over-culturing it. Chill for at least 2 hours before churning. You can leave it refrigerated for several days if you’re not ready to make butter yet, the fermentation has stopped, so it won’t get more sour.
- Before churning, take the cream out of the fridge 30-60 minutes beforehand. You want it to reach 15-18°C (60-65°F), cool but not fridge-cold. This temperature is critical. If the cream’s too cold (straight from the fridge at 4°C), it’ll take ages to churn and might not split properly. If it’s too warm (above 21°C/70°F), you’ll get soft, greasy butter that’s difficult to work with. 15-18°C is the sweet spot—the cream churns in a reasonable time and gives you firm, clean butter.
✱ Step 3: Churn the Cream
This is where you choose your method. They all work, pick whichever suits your equipment.
Churn Method 1: Shaking in a Jar
- Pour cream into your jar, filling it about halfway. You need room for the cream to move around and build up momentum.
- Screw the lid on tight. Check it twice. Then shake.
- Not gentle swirling. Aggressive, violent shaking. Like you’re making a cocktail for someone you’re furious with. The cream needs to hit the sides of the jar with force to break apart the fat globules.
- For the first 5 minutes, the cream thickens into soft peaks. Keep going. Around 7-8 minutes, it’ll turn into stiff whipped cream. Your arm will hurt.
- Around 10-15 minutes (sometimes longer with cultured cream), something shifts. The fat suddenly separates from the liquid with an audible splosh. You’ll feel the weight change in the jar, it goes from thick and resistant to sloshy, with a solid lump bouncing around in thin, milky liquid.
- That’s your butter forming.
- Keep shaking for another minute or two until you’ve got one coherent mass of butter and the buttermilk’s completely separated. The liquid should look thin and slightly translucent, not creamy.
Churn Method 2: Stand Mixer
- Pour the cream into the bowl, fit the paddle or whisk attachment, and run on medium speed. Drape a tea towel over the mixer, it will splash when the butter splits.
- The cream follows the same progression, soft peaks (around 2 minutes), stiff peaks (around 3-4 minutes), then sudden separation around 5-10 minutes.
- Cultured cream sometimes takes slightly longer than sweet cream, anywhere from 7-15 minutes. Don’t panic, just keep the mixer running.
- When you hear the sound change from a thick whipping noise to a sloshy, liquid sound, the butter’s separated. Stop the mixer.
Churn Method 3: Electric Hand Mixer
- Use a deep bowl, this is critical because it splashes everywhere when the butter splits.
- Start on medium speed with the beaters submerged in the cream. Drape a tea towel over the bowl and your hand.
- Same progression as the stand mixer: soft peaks, stiff peaks, then separation after 5-15 minutes depending on temperature and fat content.
- Your arm will get tired. If you need to take a break, that’s fine, just pick up where you left off. The cream won’t mind waiting 30 seconds.
Churn Method 4: Butter Churner
- Pour up to 300ml of cream into the glass jar (don’t overfill or it won’t churn properly).
- Attach the churning lid and turn the handle at a steady pace. Not frantically fast, just consistent.
- The internal paddles will agitate the cream. You’ll see it thicken through the glass, go through the whipped cream stage, then suddenly separate.
- This usually takes about 10-15 minutes of cranking. Cultured cream might take slightly longer, up to 20 minutes.
- When you hear the sloshing sound and see distinct yellow butter clumps in thin liquid, you’re done.
For all methods
The butter will be more yellow than sweet cream butter, and when it splits, the buttermilk will smell tangy and fermented rather than sweet.
✱ Step 4: Drain the Buttermilk
- Pour off the buttermilk through a sieve into a jug. Save every drop, cultured buttermilk is brilliant for baking and you cannot buy this quality in most shops.
- The butter in the sieve will be pale yellow, slightly crumbly, swimming in milky residue. It doesn’t look like finished butter yet. That’s completely normal.
✱ Step 5: Wash the Butter (Critical, Don’t Skip This)
This is the step most home recipes skip, and it’s why their butter goes rancid in three days.
- Transfer your butter to a bowl and cover it with ice-cold water. The water should be properly cold, add ice if needed.
- Use your hands (or a spatula if you prefer) to press and fold the butter, squeezing out the milky liquid. The water will turn cloudy white almost immediately. That’s buttermilk and milk proteins coming out.
- Drain the cloudy water. Add fresh ice water. Press and fold again.
- Repeat this 3-5 times until the water runs completely clear. Not slightly cloudy. Not milky-ish. Completely transparent like you’re washing clean butter in clean water.
This removes every trace of buttermilk and milk proteins (casein), which go rancid quickly. Unwashed butter lasts about 3-5 days before it starts tasting sour and off. Properly washed butter keeps for 2-3 weeks in the fridge, sometimes longer.
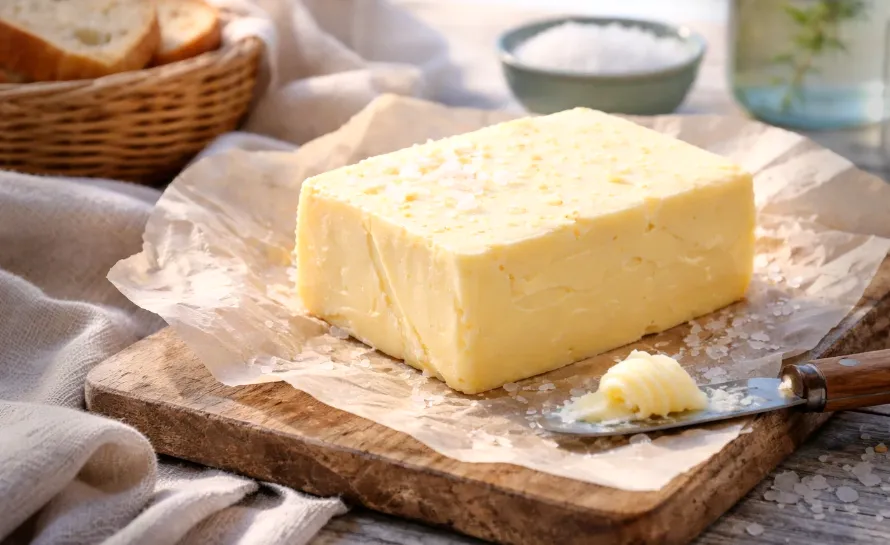
✱ Step 6: Work the Butter
The French take this bit seriously. You’re not just squeezing out water, you’re developing texture and ensuring even consistency.
- Put your butter on a clean board. Use a spatula or butter paddle to fold and press it repeatedly. You’re working it like bread dough, but gentler. This takes 2-3 minutes of folding, pressing, and turning. You want smooth, cohesive butter with even texture throughout. No streaks, no pockets of water, no grainy bits.
- If water keeps seeping out, blot it with kitchen paper or butter muslin and keep working. The finished butter should be firm, smooth, and uniformly pale yellow. It shouldn’t feel wet, greasy, or crumbly. If it does, keep working it.
- When it’s ready, shape it however you like, roll it in parchment paper, press it into a mould or stamp, or pack it into a butter dish.
Temperature: Why It Matters
The French are obsessive about temperature when making butter, and they’re absolutely right.
Too cold (below 10°C/50°F)
The butterfat’s too solid. It won’t clump together properly and you’ll just have very cold whipped cream that refuses to turn into butter. You can shake for 45 minutes and get nowhere.
Too warm (above 21°C/70°F)
The cream churns quickly but you get soft, greasy butter that’s nearly impossible to wash properly. It also goes rancid faster because you can’t remove all the buttermilk.
Perfect (15-18°C/60-65°F)
The cream churns in 10-20 minutes and you get firm, clean butter that’s easy to work.
Temperature affects texture too. Butter churned from warm cream has a softer, greasier mouthfeel. Butter churned from properly cooled cream is firmer with better structure. If your kitchen’s hot in summer, chill everything, the bowl, the jar, even the spatula. French dairies churn butter in temperature-controlled rooms for a reason. The washing water needs to be ice-cold. If it’s tepid, you’ll melt the butterfat and end up with greasy water instead of clean butter. Keep adding ice to maintain temperature.
Salted Butter: The Britanny Way
Most French butter’s unsalted, but Brittany does salted butter properly. Once you’ve washed and worked your butter, tip it onto a board and sprinkle over flaky sea salt. About 1/4 teaspoon per 125g (4 oz) butter, but taste and adjust.
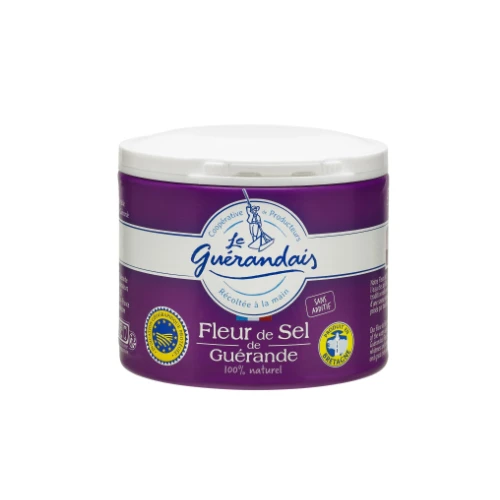
Le Guerlandais Fleur de Sel
Find it on Amazon >
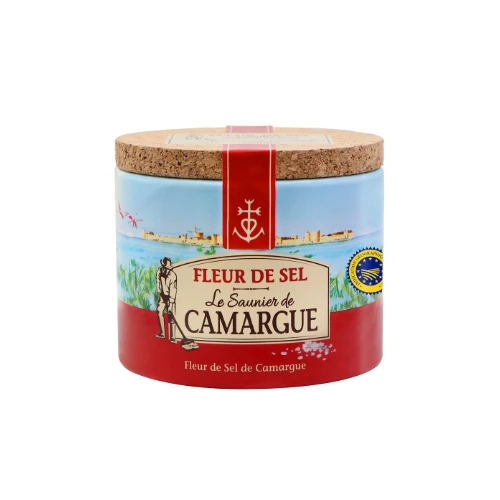
Le Saunier Fleur de Sel
Find it on Amazon >
Don’t use table salt. You want proper crystals that you can see and crunch. The French use fleur de sel from Guérande, those fragile, crystalline flakes that form on the surface of salt pans. It costs more than table salt but the flavour’s completely different. Delicate, mineral-rich, slightly sweet rather than just salty. A small pot lasts ages because you use it sparingly.
Fold the salt through with a spatula until it’s evenly distributed. You should see distinct crystals throughout, not a homogeneous paste. Don’t overwork it.
Properly salted French butter has a sweet-salty contrast that’s absolutely brilliant on radishes, boiled new potatoes, or spread thick on bread with nothing else.
The salt also acts as a preservative. Salted butter keeps longer than unsalted, which is why Brittany developed this style, butter for winter stores and long sea voyages needed to last months without refrigeration.
Butter Storage and Shelf Life
In the fridge
Properly washed butter keeps for 2-3 weeks in a butter dish, sometimes up to a month if very thoroughly washed. Unwashed butter lasts about 3-5 days before the residual buttermilk goes rancid, so make sure you do it properly.
In a butter bell
Salted butter keeps at room temperature for 1-2 weeks in a proper French butter bell. Change the water every 2-3 days. Unsalted butter’s riskier in warm weather, you might get rancidity after a week. In cooler months, it’s fine.
At room temperature (regular dish)
Maximum 2-3 days, less in hot weather. Butter absorbs odours easily, so keep it covered.
Frozen
Butter freezes brilliantly for up to six months, sometimes up to a year. Wrap it tightly in parchment paper, then in foil or a freezer bag to prevent freezer burn. Defrost slowly in the fridge overnight. The texture’s slightly more crumbly when defrosted, but it’s fine for cooking and spreading.
1

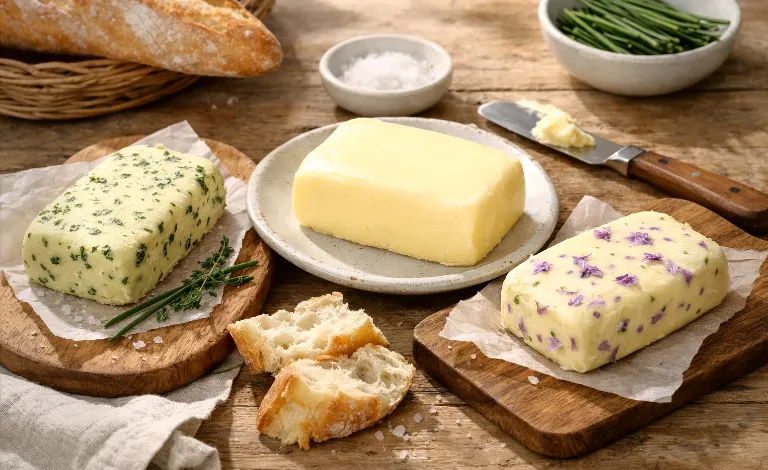
Chive Blossom Butter
Silky butter infused with delicate purple chive blossoms tastes like proper spring. The mild onion sweetness pairs brilliantly over grilled fish, spring vegetables, or just perfect on crusty bread. Stunning presentation, sublime taste!
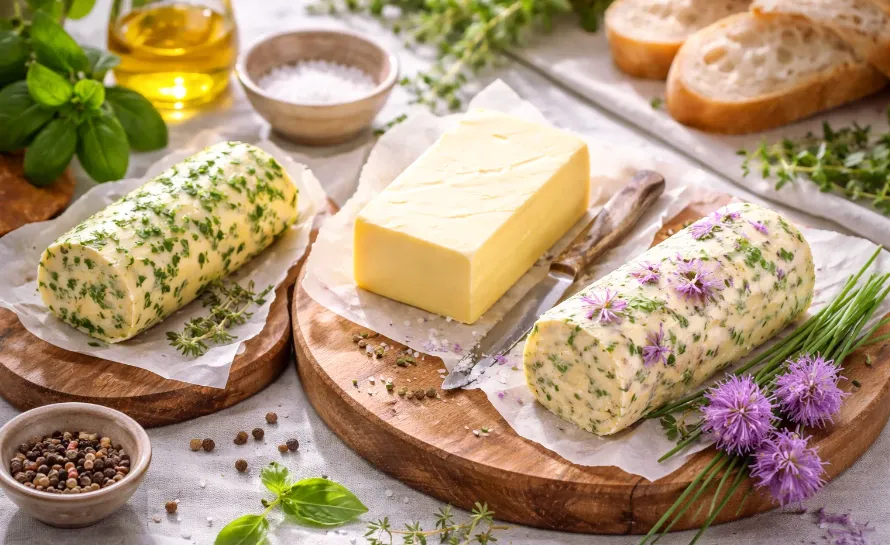
Get the recipe →Compound Butters
Once you’re comfortable making plain butter, compound butters are brilliant. These are flavoured butters mixed with herbs, spices, or other ingredients. Roll compound butters into logs in parchment paper, refrigerate until firm, then slice into rounds as needed. They keep for about a week in the fridge, longer if frozen.
Herb butter
Mix in finely chopped parsley, chives, and tarragon. Brilliant on steak or fish.
Garlic butter
Roasted garlic, parsley, and a squeeze of lemon. The French put this on escargot, but it’s also excellent on bread or prawns.
Seaweed butter
Finely chopped dulse or nori mixed through butter. Sounds odd, but it’s fantastic on fish or stirred into rice.
Anchovy butter
Mashed anchovies mixed with butter. Excellent on roasted vegetables or stirred into pasta.
Brown butter with sage
Brown your homemade butter until the milk solids caramelise, then add sage leaves. Let it cool and solidify. This is incredible on pumpkin ravioli.
Honey butter
Mix soft butter with honey and a pinch of cinnamon. Excellent on warm bread or pancakes.

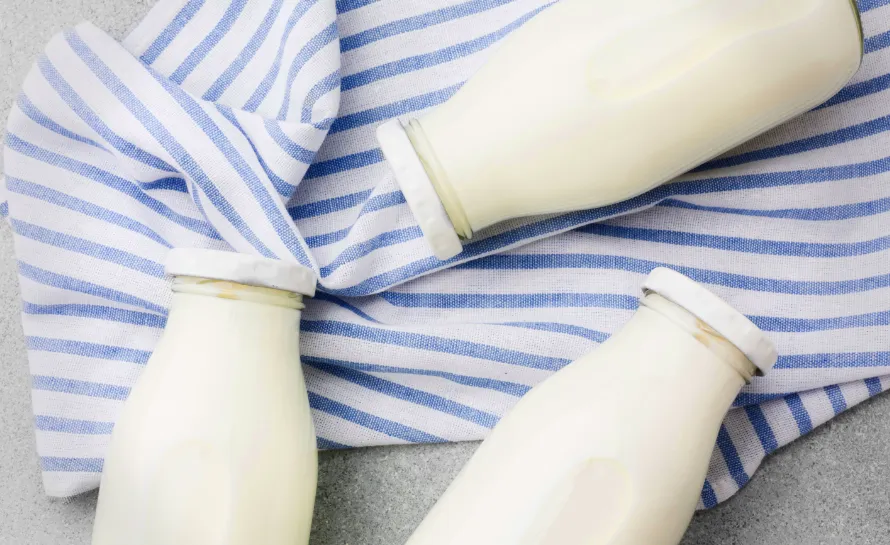
Using the Buttermilk
The liquid left over isn’t the cultured buttermilk you buy in shops (that’s actually cultured milk). This is real buttermilk, the liquid left after churning cream into butter. If you made cultured butter, your buttermilk will be tangy, fermented, and absolutely brilliant for baking. If you made sweet cream butter, it’ll be milder and slightly sweet.
What to Make with Buttermilk
● Crêpes
Traditional French crêpes often use buttermilk instead of regular milk. The acidity creates a more tender texture and subtle tang. Works beautifully for both sweet and savoury crêpes.
● Gaufres (waffles)
Buttermilk makes lighter, crispier Belgian-style waffles. The acid reacts with the raising agents to create extra lift.
● Clafoutis
The custard base benefits from buttermilk’s tang, which balances the sweetness of the fruit in the clafoutis. Works particularly well with cherries or plums.
● Far breton
This Breton custard cake is traditionally quite dense and sweet—buttermilk adds depth without making it sour.
● Quatre-quarts or gâteau au yaourt
Substitute buttermilk for the yoghurt in a classic yoghurt cake. The texture stays light and the flavour becomes more complex.
● Pain de mie
French sandwich bread made with buttermilk has a softer crumb and keeps fresh longer. The acidity strengthens the gluten structure.
● Madeleines
Buttermilk madeleines are more tender and have a subtle tang that works beautifully with lemon zest or brown butter.
● Marinades for fish
The lactic acid tenderises protein whilst adding flavour. Particularly good for chicken before roasting.
● Fresh cheese (fromage blanc)
Heat buttermilk gently, add a touch of lemon juice or vinegar, and you’ll get simple fresh cheese. Strain through muslin and you have something similar to fromage blanc.
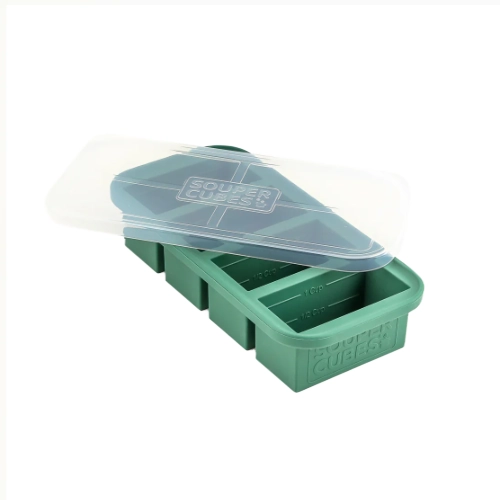

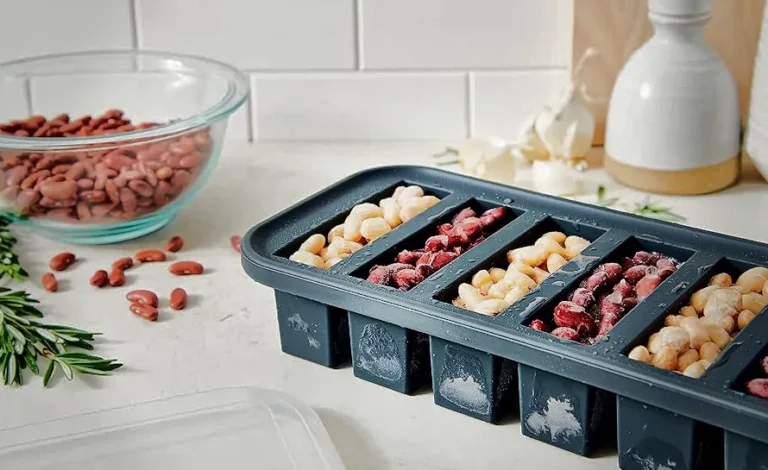
Souper Cubes Silicone Freezer Trays
Find it on Amazon >
Storing Buttermilk
It keeps in the fridge for about a week in a sealed jar. Once it starts smelling very sour or developing chunks, discard it. Though honestly, if you’ve made cultured buttermilk, it already smells sour, you’re judging whether it’s gone too sour or smells genuinely off.
You can freeze buttermilk for up to three months. Freeze it in ice cube trays or Souper Cubes, then transfer the cubes to a freezer bag. Each cube is roughly 30ml, perfect for adding to recipes.
Final Thoughts
Make a batch of cultured butter, spread it thick on good bread, sprinkle with fleur de sel. Then you’ll understand why the French take their butter so seriously.
The whole process takes 10-20 minutes active work for basic sweet cream butter, 24-48 hours for cultured (though most of that’s just waiting). Either way, you’ll end up with better homemade butter than most of what’s in shops. And honestly, once you’ve tasted homemade cultured butter with proper salt crystals running through it, you’ll want to make it again and again.
Is it practical for everyday use? No. But for special occasions, or when you want butter that actually tastes like butter should taste, absolutely worth it.
Just so you know, a few links here earn us a commission. Doesn’t cost you anything extra, and we only link to things that are actually worth your time.