![]()
Home preserving food successfully

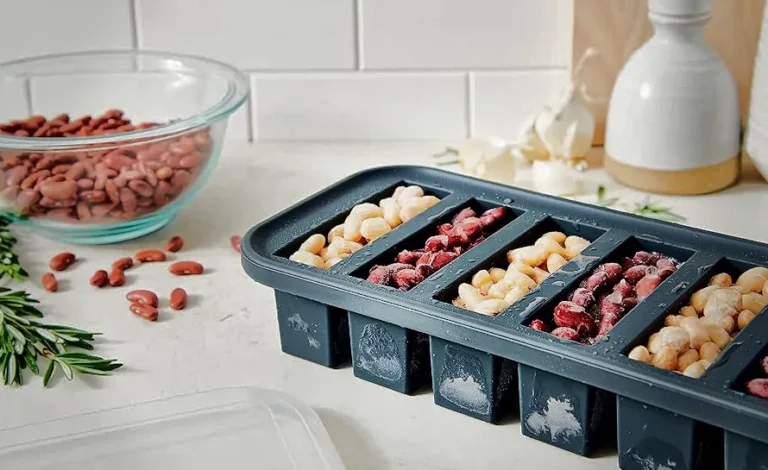
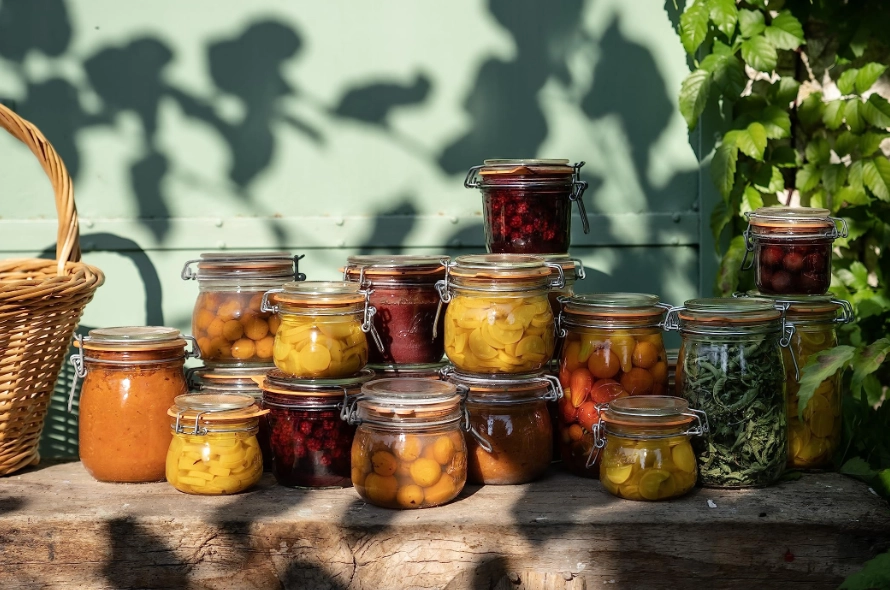
Every French household has a cupboard full of preserved things. Ratatouille from August. Butternut squash jam from October. Pickled green beans from the garden. It’s not precious or complicated, it’s just what you do when summer produces more tomatoes than you can eat in a week.
Home preserving food the French way is about taking beautiful produce at its peak, putting it in proper jars, and processing it correctly so you can eat it in February. The method hasn’t changed much in over a century because it works.
This guide covers everything you need to start preserving at home: the right equipment, the actual process step-by-step, what you can preserve, and how to avoid the mistakes that lead to jars that don’t seal or, worse, food that spoils. By the end, you’ll know exactly how to put up your first batch of ratatouille or butternut squash jam. Right. Let’s get into it.
What you actually need for home preserving food
The French keep it simple. Proper jars, a big pot, basic tools. Don’t overthink this.
Le Parfait Jars: The French Standard
Le Parfait makes the jars French people actually use. They’ve been doing it since 1935. The ones you want have glass lids, rubber seals (the orange ones), and metal clips that hold everything together during processing. They’re brilliant because the seal sits on top of the jar rather than screwed on, which means you can see immediately if something’s gone wrong, if the lid’s loose, the jar didn’t seal. No guessing. The rubber seals are replaceable, so you buy jars once and just replace the seals each year. Le Parfait jars come in sizes from 350ml to 3 litres. For most preserving, you want 500ml (about a pint) and 1 litre jars. Start with six of each. Both use the 85mm seals, which makes it nice and easy.

Le Parfait 500ml Jars
uses 85mm seals
Find it on Amazon >
Le Parfait 1 liter Jars
uses 85mm seals
Find it on Amazon >
A big stock pot
The other thing you will need is a pot tall enough to cover your jars with at least 2-3cm of water, with room for the water to boil properly. It must be tall, not super wide. Wide pots don’t give you the height you need for water bath canning.
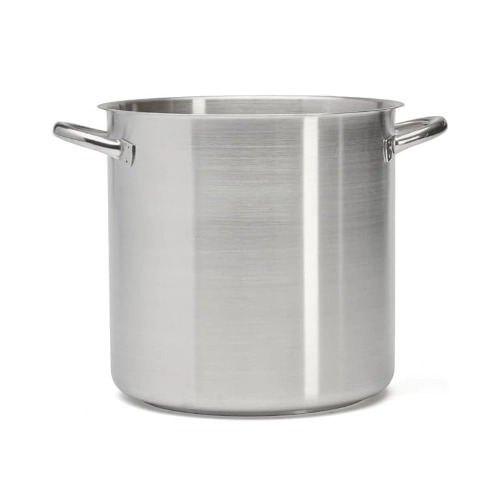
De Buyer Stock Pot 28cm
handles 6 jars (500ml or 1 litre)
Find it on Amazon >
De Buyer Stock Pot 24cm
handles 4 jars (500ml or 1 litre)
Find it on Amazon >
The brand De Buyer makes great French cookware. The pots have thick stainless steel that won’t warp and handles that stay cool plus a base that heats evenly. I’ve had my De Buyer pot for eight years and it still looks new. Their Prim’Appety range is the one you want. It’ll last decades and you can use it for stock, pasta, and everything else that needs a big pot or when you have invited lots of people to join you for a meal.
The other bits you’ll need
Metal tongs designed to grab hot jars safely. Don’t try to fish boiling jars out with regular tongs or you’ll drop one eventually.
Makes filling jars easier so you don’t spill your ratatouille all over the counter.
For transferring hot food into jars. You’ve probably got one, if not this one from Kitchenaid is a solid choice.
Non-negotiable. Processing times matter. Your phone works fine.
Several. For inside your stock pot at the bottom, for wiping jar rims, setting hot jars on, handling hot lids.
Two preserving methods (but start with one)
There are two ways to preserve food at home: water bath canning and pressure canning.
Water bath canning
Submerges jars in boiling water (100°C) for a specific time. Works for high-acid foods: fruits, tomatoes, pickles, jams, chutneys, anything with vinegar or lemon juice added.
Pressure canning
Uses a pressure canner to reach 116°C, which is necessary to safely preserve low-acid foods like plain vegetables, meat, stock, and beans.
Start with water bath. It covers most of what you’ll want to preserve, requires less equipment, and teaches you the fundamentals. Once you’re confident with water bath canning, move to pressure canning for things like vegetable soup or plain green beans.
This guide focuses on water bath canning because it’s what you need for ratatouille, jams, pickled vegetables, and most French preserves.
The complete water bath canning process
This is the method. Follow it exactly the first few times. Once you understand why each step matters, you can work more efficiently, but don’t skip steps.
Step 1 Check and wash your jars and equipment
Inspect every jar for chips or cracks, especially around the rim. A damaged rim won’t seal. Check rubber seals for any tears or degradation. If a seal looks dodgy, replace it, they’re cheap. Wash the jars, lids, and seals in hot soapy water. Rinse thoroughly. You don’t need to sterilise them yet if you’ll be processing for more than 10 minutes (which you will be for most things).
Step 2 Prepare your canning bath
Fill your stock pot with water, enough to cover your jars by 2-3cm once they’re in. Put it on the hob and bring it to a simmer (around 80-90°C). You want it hot when your jars are ready, but not boiling yet. If you don’t have a proper canning rack, fold a tea towel and put it in the bottom of the pot. This prevents jars from touching the pot directly, which can cause them to crack from the heat.
Step 3 Prepare your food
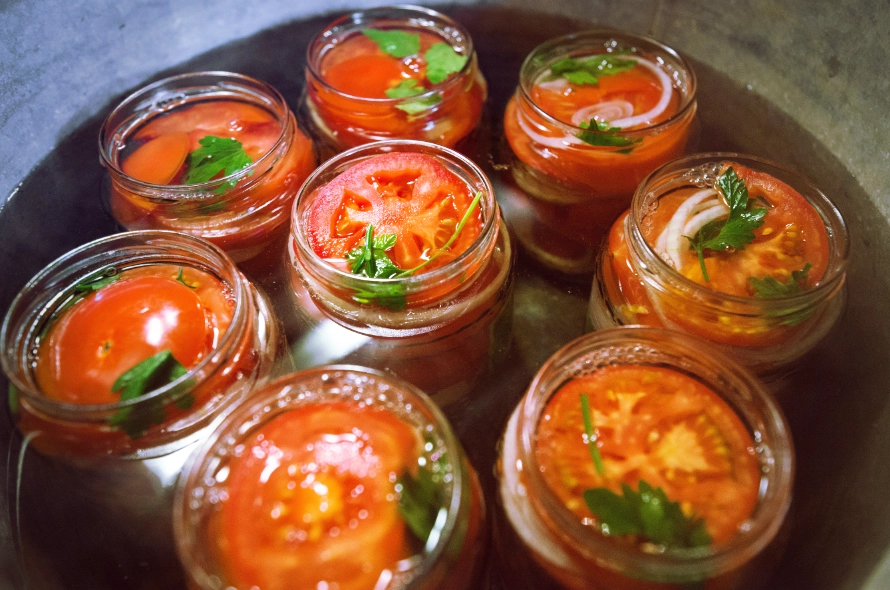
Whatever you’re preserving, ratatouille, jam, tomatoes, prepare it according to your recipe (or mine!). Have it hot and ready to go. Cold food in hot jars causes problems.
Step 4 Fill Your Jars
This is where the funnel earns its keep. Place a jar on a tea towel (so it doesn’t slide). Ladle hot food into the jar, leaving the correct headspace:
- Jams and preserves: 5mm headspace
- Chutneys and relishes: 5mm headspace
- Fruits and tomatoes: 1cm headspace
- Vegetables and pickles: 1cm headspace
- Chutneys and relishes: 5mm headspace
Headspace matters. Too little and food can boil out during processing, preventing a seal. Too much and you won’t get a proper vacuum. Check that your mixture is properly distributed throughout the mass, so as to eliminate air pockets. Add more food if needed to maintain correct headspace.
Step 5 Boil your seals and clean the rim
Boil the seals before fitting them onto the glass. Check that the rim of your jar is clean before sealing. Any food residue, even a tiny bit, prevents sealing and could ruin your preserves.
Step 6 Seal the jar
Place the rubber seal on the glass lid. Center the lid on the jar. Clip the metal fasteners in place. They should feel snug but not require force. For screw-band jars: place the flat lid on the rim, then screw the band on until it’s “fingertip tight”, snug but not forced. Over-tightening prevents air from escaping during processing.
Step 7 Process in the Water Bath
Use your jar lifter to lower jars into the simmering water. They shouldn’t touch each other or the sides of the pot if possible. Add more hot water if needed to cover jars by 2-3cm. Put the lid on your stock pot. Bring the water to a rolling boil, big bubbles breaking the surface. Once it’s properly boiling, start your timer.
Processing times vary by food and jar size. Check the recipes to make sure you boil it correctly. Don’t restart the timer if the water stops boiling temporarily. Keep it boiling as steadily as possible, but brief interruptions are fine.
Step 8 Remove and cool
When the timer goes off, turn off the heat. Leave jars in the water for 10 minutes, this reduces the temperature shock. Use your jar lifter to remove jars. Place them on a tea towel on your counter with at least 2-3cm space between jars. Don’t put them on a cold surface or they might crack.
Don’t touch them, move them or”test” the seal. Just leave them completely alone for 12-24 hours.
Step 9 Check the seals
After 12-24 hours, check each jar. Sealed jars can be stored. Unsealed jars go in the fridge and should be eaten within a week.
Le Parfait jars
Try to lift the glass lid. If it’s sealed, the vacuum holds it in place and you won’t be able to lift it. If it lifts easily, it didn’t seal.
Screw-band jars
Remove the screw band and try to lift the jar by the flat lid. A properly sealed lid won’t come off. Also press the center, it shouldn’t flex.
Step 10 Label and store
Store in a cool, dark place, a cupboard works perfectly. Not above the cooker where it’s warm. Not in bright sunlight. Properly sealed, most preserves last 12-18 months. But honestly, they’ll probably be gone before then.
Home preserving food recipes
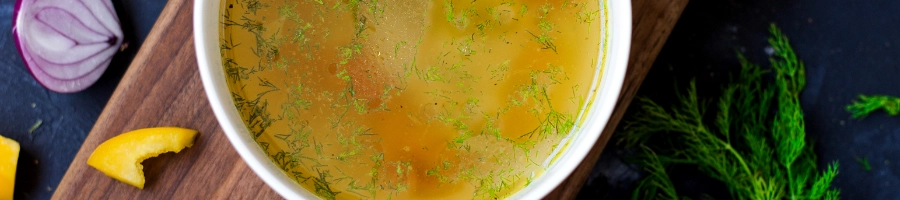
Broth (made from vegetable peelings)
- Collect the peelings from your vegetables and herbs. Avoid using too much red onion skin, as it can make the broth bitter.
- Rinse the peelings thoroughly in water with a splash of white vinegar.
- In a large saucepan, heat some oil over medium heat. Add the peelings and sauté for 5 minutes, stirring regularly.
- Add enough water to cover the peelings. Simmer over low heat for 20 minutes.
- Remove the peelings from the broth. Season with salt and pepper to taste.
- Let the broth reduce for another 30 minutes over low heat.
- Pour the hot broth into a Le Parfait jar, leaving a 2cm headspace.
- Seal the jar tightly and immediately process it at 100°C for 30 minutes.

Ratatouille
Classic Provençal ratatouille preserves brilliantly and tastes better than anything tinned. When you open a jar in winter, reheat it and serve over pasta or with crusty bread. Brilliant. Recipe here >

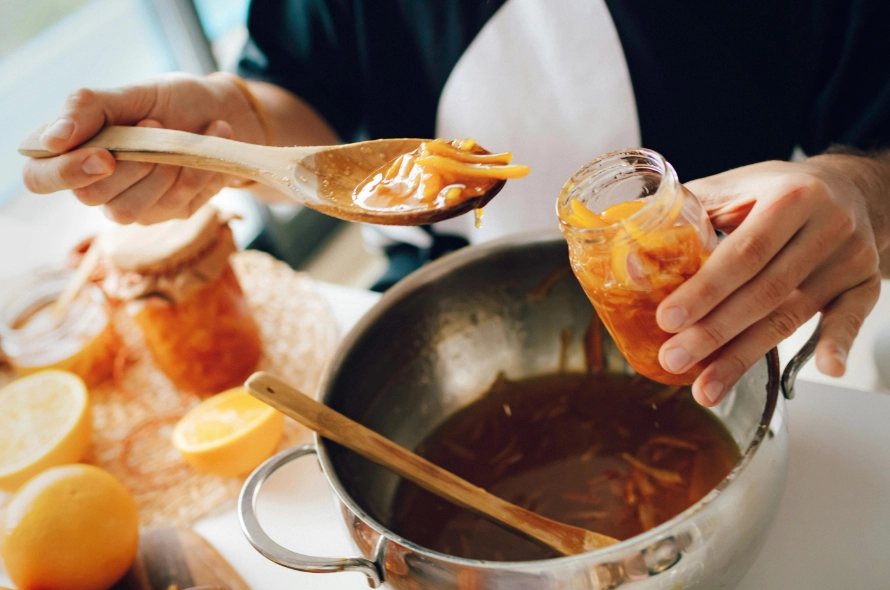
Butternut Squash Jam
Sounds odd. Tastes brilliant. French grandmothers make this with various squashes, especially potiron (a type of pumpkin). Serve on toast with butter, or stirred into yogurt. Seriously good. Recipe here >
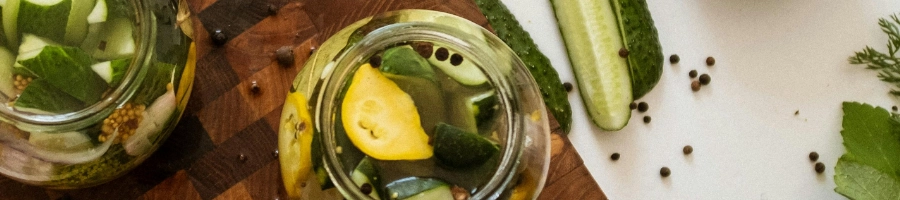
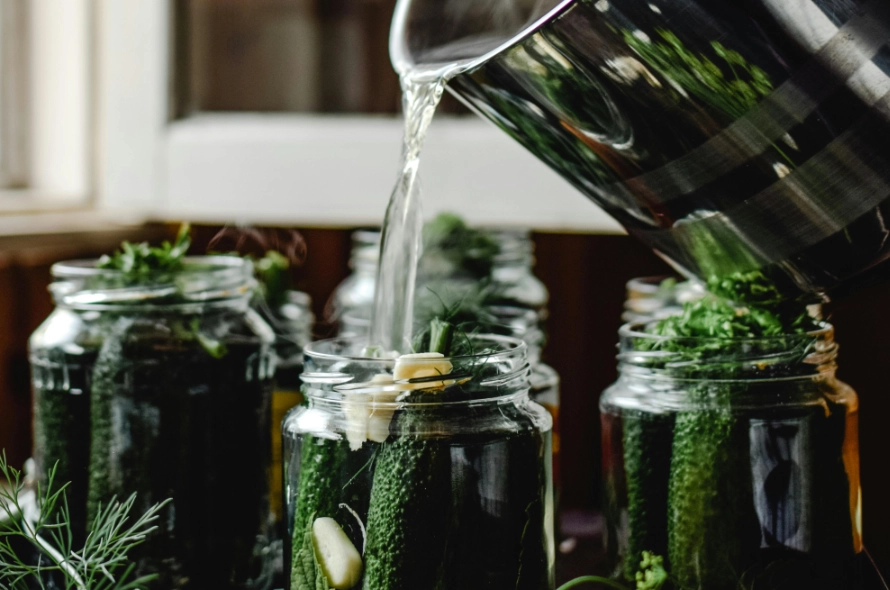
Pickled cucumber (1 liter Jar)
- For this pickled cucumber recipe, choose 1 kg small, healthy, and freshly picked cucumbers. Trim them and remove the fuzz covering them without damaging the skin, for example, with a rough cloth.
- Let them macerate for 24 hours with 250g of coarse salt.
- Discard the liquid released by the cucumbers and drain them.
- Let them macerate again for 5 minutes in a solution of cold water with a few tablespoons of vinegar added, then drain them.
- Place the cucumbers in Le Parfait jars, distributing the 12 peeled pearl onions and herbs (3 bay leaves, coriander seeds, 6 sprigs of tarragon, or any spices you like) evenly.
- Cover with 1 liter of vinegar, seal your jar of cucumbers, store in a cool place, and wait one month before serving the pickled cucumbers.
Common mistakes (and how to avoid them)
Jars don’t seal
Causes:
- Food on the rim (wipe it properly)
- Wrong headspace (measure it)
- Damaged jar rim (check before filling)
- Worn rubber seal (replace rubber seals when they show wear, cracking, or become less elastic)
- Not enough processing time (use a timer)
If a jar doesn’t seal, refrigerate it and eat within a week. Or reprocess within 24 hours with a new seal.
Liquid boils out during processing
Normal to lose a bit of liquid. If you lose more than 1-2cm from the top:
- You filled jars too full (leave proper headspace)
- You didn’t remove air bubbles (run a chopstick around the inside)
- Your water was already boiling when jars went in (start with simmering water)
Jars with lost liquid are still safe if they sealed properly. Just use them first.
Jars crack during processing
Usually from thermal shock:
- Don’t put cold jars in boiling water (warm them first)
- Don’t put hot jars on a cold counter (use a tea towel)
- Check for existing cracks before using
Seals pop after storage
If a sealed jar unseals days or weeks later, something’s wrong. Could be underprocessed food fermenting and building pressure, or a damaged seal. Don’t eat it. The seal breaking means the vacuum failed, which means air got in, which means bacteria could have too.
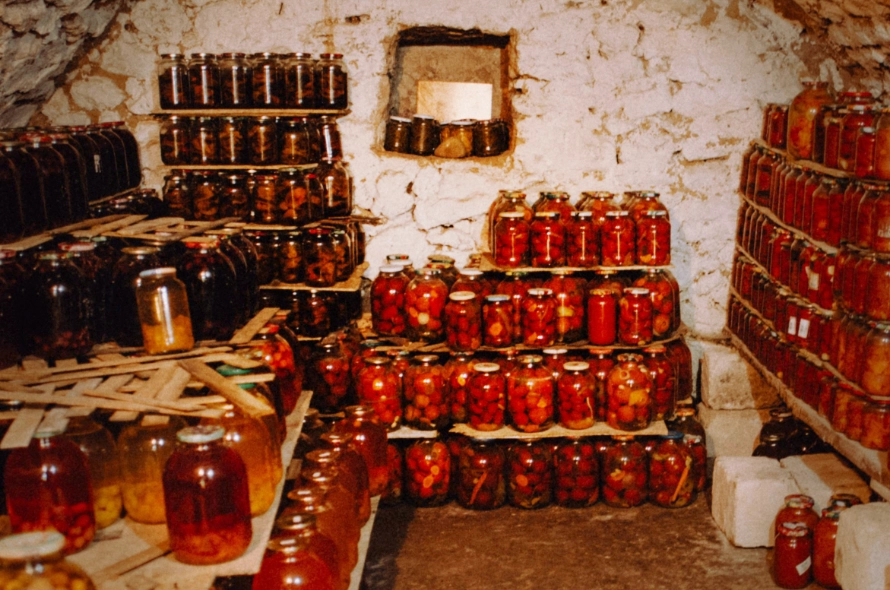
Storage and shelf life
Store sealed jars in a cool, dark cupboard. Room temperature is fine. They don’t need refrigerating until opened.
How long things last
- Jams and preserves: 18 months
- Tomatoes: 12-18 months
- Pickles: 12 months
- Ratatouille and vegetable preserves: 12 months
- Chutneys: 12-18 months (often improve with age)
These are conservative estimates. Properly processed preserves often last longer, but quality starts declining after 18 months. Once opened, treat them like any opened food: refrigerate and use within a week or two.
Signs something’s gone off
- Bulging lid
- Broken seal
- Foam or bubbles inside
- Mould (even a tiny spot, throw it out)
- Off smell when opened
- Spurting liquid when opened
If anything looks or smells wrong, don’t taste it. Just bin it. Home preserving food is safe when done properly, but don’t take chances with dodgy-looking jars.
Frequently Asked Questions
Can I reuse jar lids?
For Le Parfait jars, replace rubber seals when they show wear, cracking, or become less elastic. The glass lids and metal clips last indefinitely. For screw-band jars, never reuse the flat lids, they only seal once. Screw bands can be reused if they’re not rusty.
How do I know if a jar sealed properly?
Le Parfait: try to lift the glass lid. If it’s stuck from the vacuum, it sealed. Screw-band: press the center of the lid. If it doesn’t flex, it sealed. Also try lifting the jar by the lid, sealed lids won’t come off.
What if several jars don’t seal?
Could be a processing issue (underprocessed, wrong temperature), damaged jars or seals, or food on rims. Refrigerate unsealed jars and eat within a week. Check your equipment and process before trying again.
Can I process jars in the oven?
No. Oven canning is unsafe. The jars don’t get hot enough, and the dry heat creates dangerous pressure. Only water bath or pressure can.
Do I need to buy new jars every year?
No. Quality glass jars last decades. Just replace the rubber seals (Le Parfait) or flat lids (screw-band) annually. The jars themselves are a one-time investment.
Can I preserve food without sugar in jams?
You need special pectin formulated for low-sugar jams. Regular pectin requires sugar to set. The sugar also acts as a preservative. Low-sugar jams have shorter shelf life.
How much does home preserving actually save?
Depends on your fruit source. If you grow it or buy from a pick-your-own, significant savings, maybe 50-70% less than buying equivalent preserves. If you’re buying supermarket produce, savings are minimal. But the quality difference is massive.
Conclusion
Right. You’ve got everything you need to start home preserving food the French way. Go get your Le Parfait jars, get that De Buyer pot, and pick a Saturday when you’ve got a few hours.
Here’s what’s going to happen on your first attempt: you’ll probably overfill one jar. You’ll definitely get ratatouille on the counter despite the funnel. Your kitchen will be extremely hot and slightly chaotic. At least one jar won’t seal and you’ll convince yourself you’ve done something catastrophically wrong (you haven’t, refrigerate it and eat it first).
But then the other jars will satisfyingly seal, and you’ll line them up on your counter and feel absurdly proud of yourself. As you should.
Start with something easy, ratatouille if you like vegetables, butternut squash jam if you prefer sweet things. Don’t attempt twelve different preserves in one weekend. That way lies madness and a kitchen that looks like a disaster zone. The real test is opening a jar in January and having it taste like August.
The brilliant thing about home preserving food is that once you’ve done it successfully, you’ll keep finding excuses to do it again. Friend mentions they’ve got too many tomatoes? You’ll volunteer to take them off their hands. See a great price on peppers at the market? Suddenly you’re planning pickled peppers. It becomes a bit of a habit.
So. What are you going to make first? Come back and tell me how it goes, especially if something goes wonderfully wrong. That’s usually the best way to learn!
Just so you know, a few links here earn us a commission. Doesn’t cost you anything extra, and we only link to things that are actually worth your time.